Hello Little Kitty
A little princess celebrated her 4th birthday with a "Hello Kitty" party.
A sheet cake surrounded by cupcakes was requested.


Cosco was right on point.
Not only was the birthday girl pleased but the cake and cupcakes
were the most moist I've had for a commercial bakery. Yum!
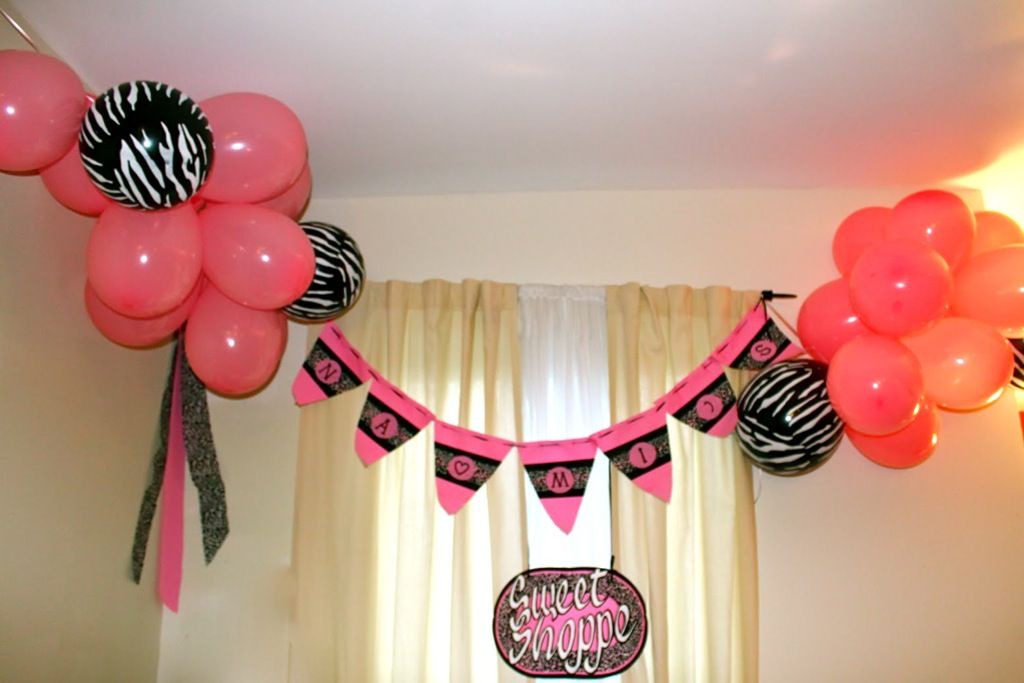 |
The homemade pennant was a 'no sew' version created by moi. |
Do you know how hard it is to surprise a 4 year old?
The party itself was not a surprise.
The decorations we thought should at least be something unexpected.
The banner read 'Naomi's Sweet Shop'.

The pink fabric was cut into a triangle. The small black banner top and bottom was hand painted.
After drying, the fabric with an adhesive backing was ironed on.

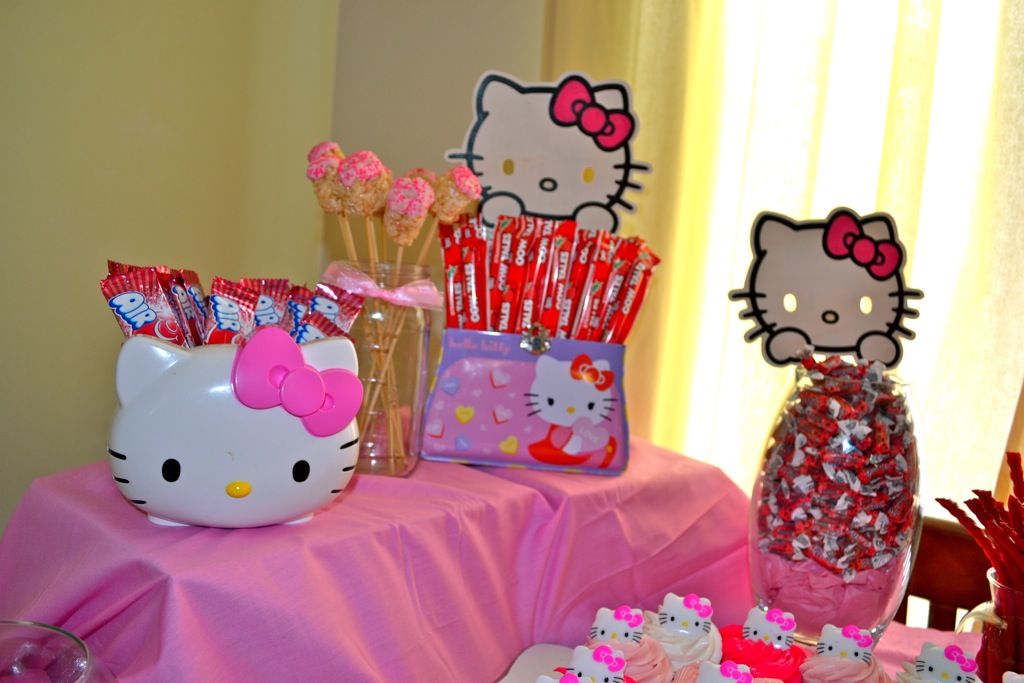
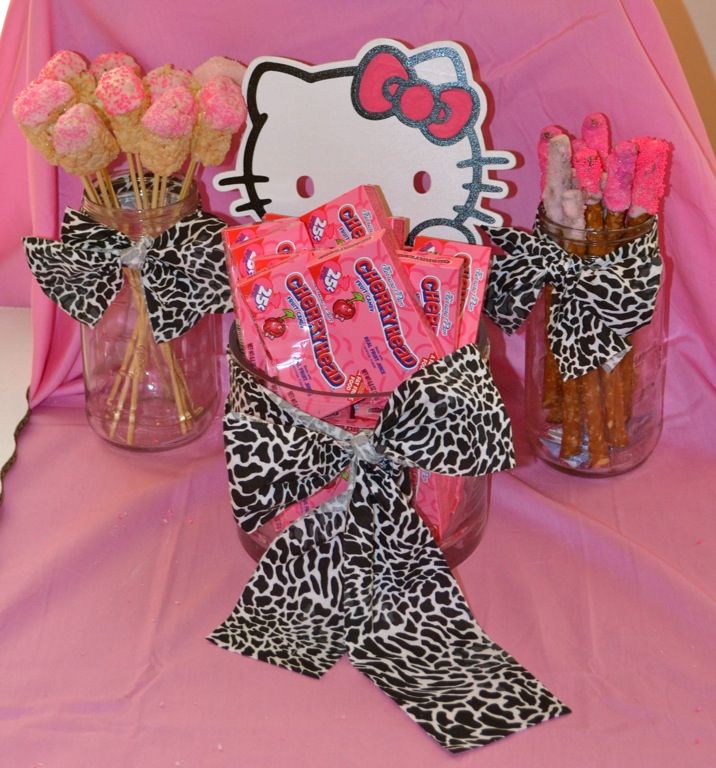
Here Kitty, Kitty, Kitty!
The candy coated Rice Crispy Treats on a stick were the biggest hit! I've yet to eat a Rice Krispy Treat! The Hello Kitty in the forefront was from an Edible Bouquet Arrangement!

The goody bags were hand painted white lunch bags from Target.

This game that was enjoyed by all was a hand painted Pin the Bow on the Kitty!
Bows were made and velcro buttons were discreetly placed on the primed and treated canvas!

This is a "pin the bow on the kitty" game!

Pattern for the pennant
Start with an 8 1/2x11 sheet of white paper. Fold in half. Draw a line from the top edge to the bottom fold. Cut. This is your 'no sew pattern'.
I used a 200 thread count twin sheet set from Walmart as my major supply item. This was only $13.88 for the set compared to about 8 yards of fabric at a minimum of $5.00 a yard. The flat sheet was the table base and the fitted sheet was used for my accessory fabric. With it I was able to make 32 '32' inch long ribbon ties, 14 pennants, accessory pieces which included 30 '3' inch circles. I used them to center on top of the animal print. The lettering was hand painted with acrylic paint and imitation stitching was done with a fine point Sharpie marker.

I chose to paint a small black acrylic border at the top and bottom of a piece of 'Heat 'n Bond' coated animal print. Not sure which animal:)
A circle was cut for each letter of the name. The lettering to me was a little crude but this little birthday girl thought it was the 'best ever'. That's what's important!
Press small pink circle onto pennant over animal print. This pennant can be backed with an inexpensive piece of felt. Remember 'Wonder Under' and 'Heat and Bond' are both double sided iron on adhesives. Peel off the back piece of the pennant and press. Embellish as you desire.
This pennant was placed between two (2) clusters of 10 balloons.
THE SWEET SHOPPE SIGN
With no oval pattern to use, the template for the Sweet Shoppe sign was made by taping two paper plates and roughly sketching the lettering with paint and brush.

After drying, the letters can be traced, cut and set aside.
A piece of the pink fabric that was previously ironed with the "Heat 'n Bond' was used as the base of the sign. The animal print was also ironed on. A 2-3 inch black and white border was cut and ironed onto the pink fabric.


Cut the 'Sweet Shoppe" letters and trace onto the sign base.
See below.
Paint and embellish as desired using grommets, or buttons, etc.


Scrapbooking paper was used to make popcorn cones. 8 sheets were packaged for $1.99 at AC Moore Arts and Crafts. I used a birthday hat left from a previous party as a template.
Happy Birthday Naomi!!!!


i was at this party and the decor was truly fabulous!! loved it!
ReplyDelete